How to Remove a Network Adapter in Windows 11 and Windows 10
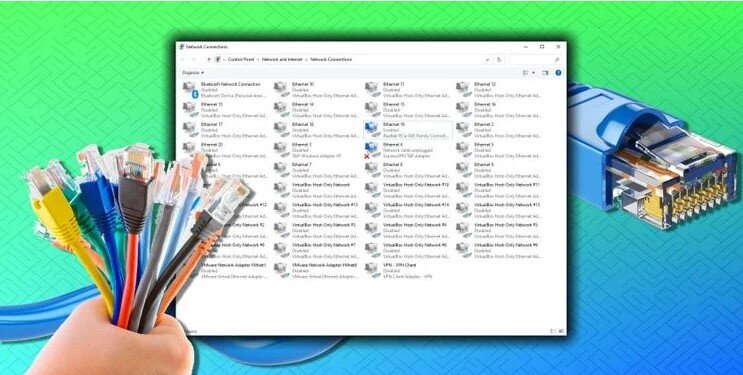
Do you want to remove your network adapter because it is obsolete, has stopped working, or has experienced issues after an update? You are in the right place to learn about this problem and also the solutions!
Windows automatically updates the list of your network adapters. When you install a new adapter whether it’s a Bluetooth connection, Wifi dongle, or virtual network adapter, all of the adapters are listed under your computer Network Connections or in the Device Manager. You need to remove an old network adapter from the list over time to keep the network connections organized. These reorganized adapters make it easy to track your active network adapters. Keep reading this article to know how you can easily remove network adapter in Windows 11 and Windows 10.
What is a Network Adapter?
A network adapter is a device or hardware component that allows your computer to link up with other computers or devices to a network connection. This network connection can be a built-in feature or a physical card in a device. Network adapters continue communications among devices through several networking types like local area networks or LANs, Wide Area Networks or WANs, and the Internet. For instance, using a laptop, you can connect to a wireless network adapter through Wi-Fi connections or an Ethernet port allows for Ethernet connections, a Bluetooth network adapter allows for Bluetooth connections, and more.
Network adapters streamline the communications between devices and automate configuring processes and managing active network connections within the devices. If something wrong happens between the devices then the network adapter solves the issues through a simple troubleshooting process.
Effective Methods to Remove a Network Adapter in Windows 11 and Windows 10
You can see some effective methods to remove a network adapter in your Windows 11 and Windows 10 in the following. Try to use this method one after one to get rid of the network adapter issues. Let’s move to the five methods:
1. Uninstall the Problematic Network Adapter through the Device Manager Tool
You can easily uninstall the problematic network adapter from the device manager. Here is the process to uninstall the application:
- Type Device Manager from your Search Menu in Windows 11 and Windows 10.
- Press Enter on the keyboard to open the Device Manager.
- Scroll down and extend the Network Adapter option.
- Select the network adapter that you want to uninstall by right-clicking on it and choosing the Uninstall Device option.
- Repeat the process if necessary.
2. Delete Network Adapter from Network Connections
Removing your network adapter from network connections is another handy method to get rid of this problem. In the network connections, you can get all of your network adapters, and deleting the problematic network adapter from here can solve your problem.
- Type Control Panel in the Search menu on your Windows 11 and Windows 10.
- Open the Control Panel and you will see a window appear; you should click on View Network Status and Tasks under Network and Internet option.
- Now, click on the Change Adapter Settings from the left panel and the active network adapter will appear to you.
- Select the faulty app and right-click over it. A drop-down menu will come, you need to press the Delete option to remove the adapter.
3. Use the Command Prompt to Remove the Network Profile
If you’re using the above solution but still, your problem has not been resolved then you must use the command prompt to remove the network adapter profile. Here is the guide:
- Write cmd in your Windows search menu.
- Select the Run as Administrator to open the Command Prompt.
- Enter the following command and press the Enter button to see the position of your network adapters: netsh interface show interface.
- To remove the network adapter, enter the following command: netsh interface set interface “Interface Name” disable. Place the name of the network adapter that you want to remove in the “Interface Name”.
4. Delete Network Adapter Settings from Windows Registry
Another effective solution is to delete your adapter settings from the Windows Registry. First, you need to check the details of the network adapter. Here is the process:
- Open the Command Prompt as we show the process in another solution.
- Enter the ipconfig in the command prompt and select the network adapter that you want to delete.
- Copy the IPv4Address and keep open the Command Prompt.
- Type regedit on your Windows 10 or Windows 11 Start menu and open the Windows Registry.
- Follow this direction: HKEY_LOCAL_MACHINE\SYSTEM\CurrentControlSet\Services\Tcpip\Parameters\Interfaces.
- Find the interface DhcpIPAddress and compare it to the IPv4 Address that you found in the Command Prompt.
- Now, right-click on the network adapter interface that contains a long alphanumeric string and choose the Delete option to complete the process.
5. Disable a Network Connection in PowerShell
This is an easy process to disable a network connection in PowerShell on your Windows 11 and Windows 10. Follow this process:
- Write Windows PowerShell in the Search Box of your Windows 11 and Windows 10.
- When the application appears, click on the Run as Administrator.
- A window will appear to you then tap on Yes to continue.
- When entering the Command Prompt, type the following command to get a list of the network interfaces: Get-NetAdapter | format-list.
- When you get the list, now write the following command to disable the faulty adapter by enabling the code run: Disable-NetAdapter-Name “Adapter name”-Confirm:$false.
Is it Safe to Uninstall a Network Adapter?
Uninstalling a network adapter from your computer can be safe but it relies on some conditions. Here you should consider these issues before uninstalling a network adapter.
- Replacing your network adapter is often necessary when the adapter gets faulty. Make sure, the new network adapter is ready and the drivers installed properly before removing the older network adapter.
- In some cases, connectivity issues or driver conflicts create issues on your network adapter. Therefore, you should uninstall the network adapter first and then reinstall it once again and this will troubleshoot your problem effectively.
- If your computer has several network adapters and all of them are not essential for you then uninstall the unused adapters. This uninstalling cause frees up your space and reduces potential security risks.
To keep your network adapters error-free, you should avoid incorrect uninstallation and uninstalling the integrated network adapters without any alternative connections. Be careful about this situation while you’re going to uninstall or delete network adapters.
Bottom Lines
We hope our presented methods will be good enough to remove a network adapter in your Windows 11 or Windows 10. You must follow the process as we mentioned in our solutions guide. Let us know your opinion or suggestions regarding this guide through our comment section. We are closing now, have a good day
Editors Pick for You
How to Fix Windows 11 Battery Drain Fast


