5 Tips and Tricks for Mouse Settings Windows 10
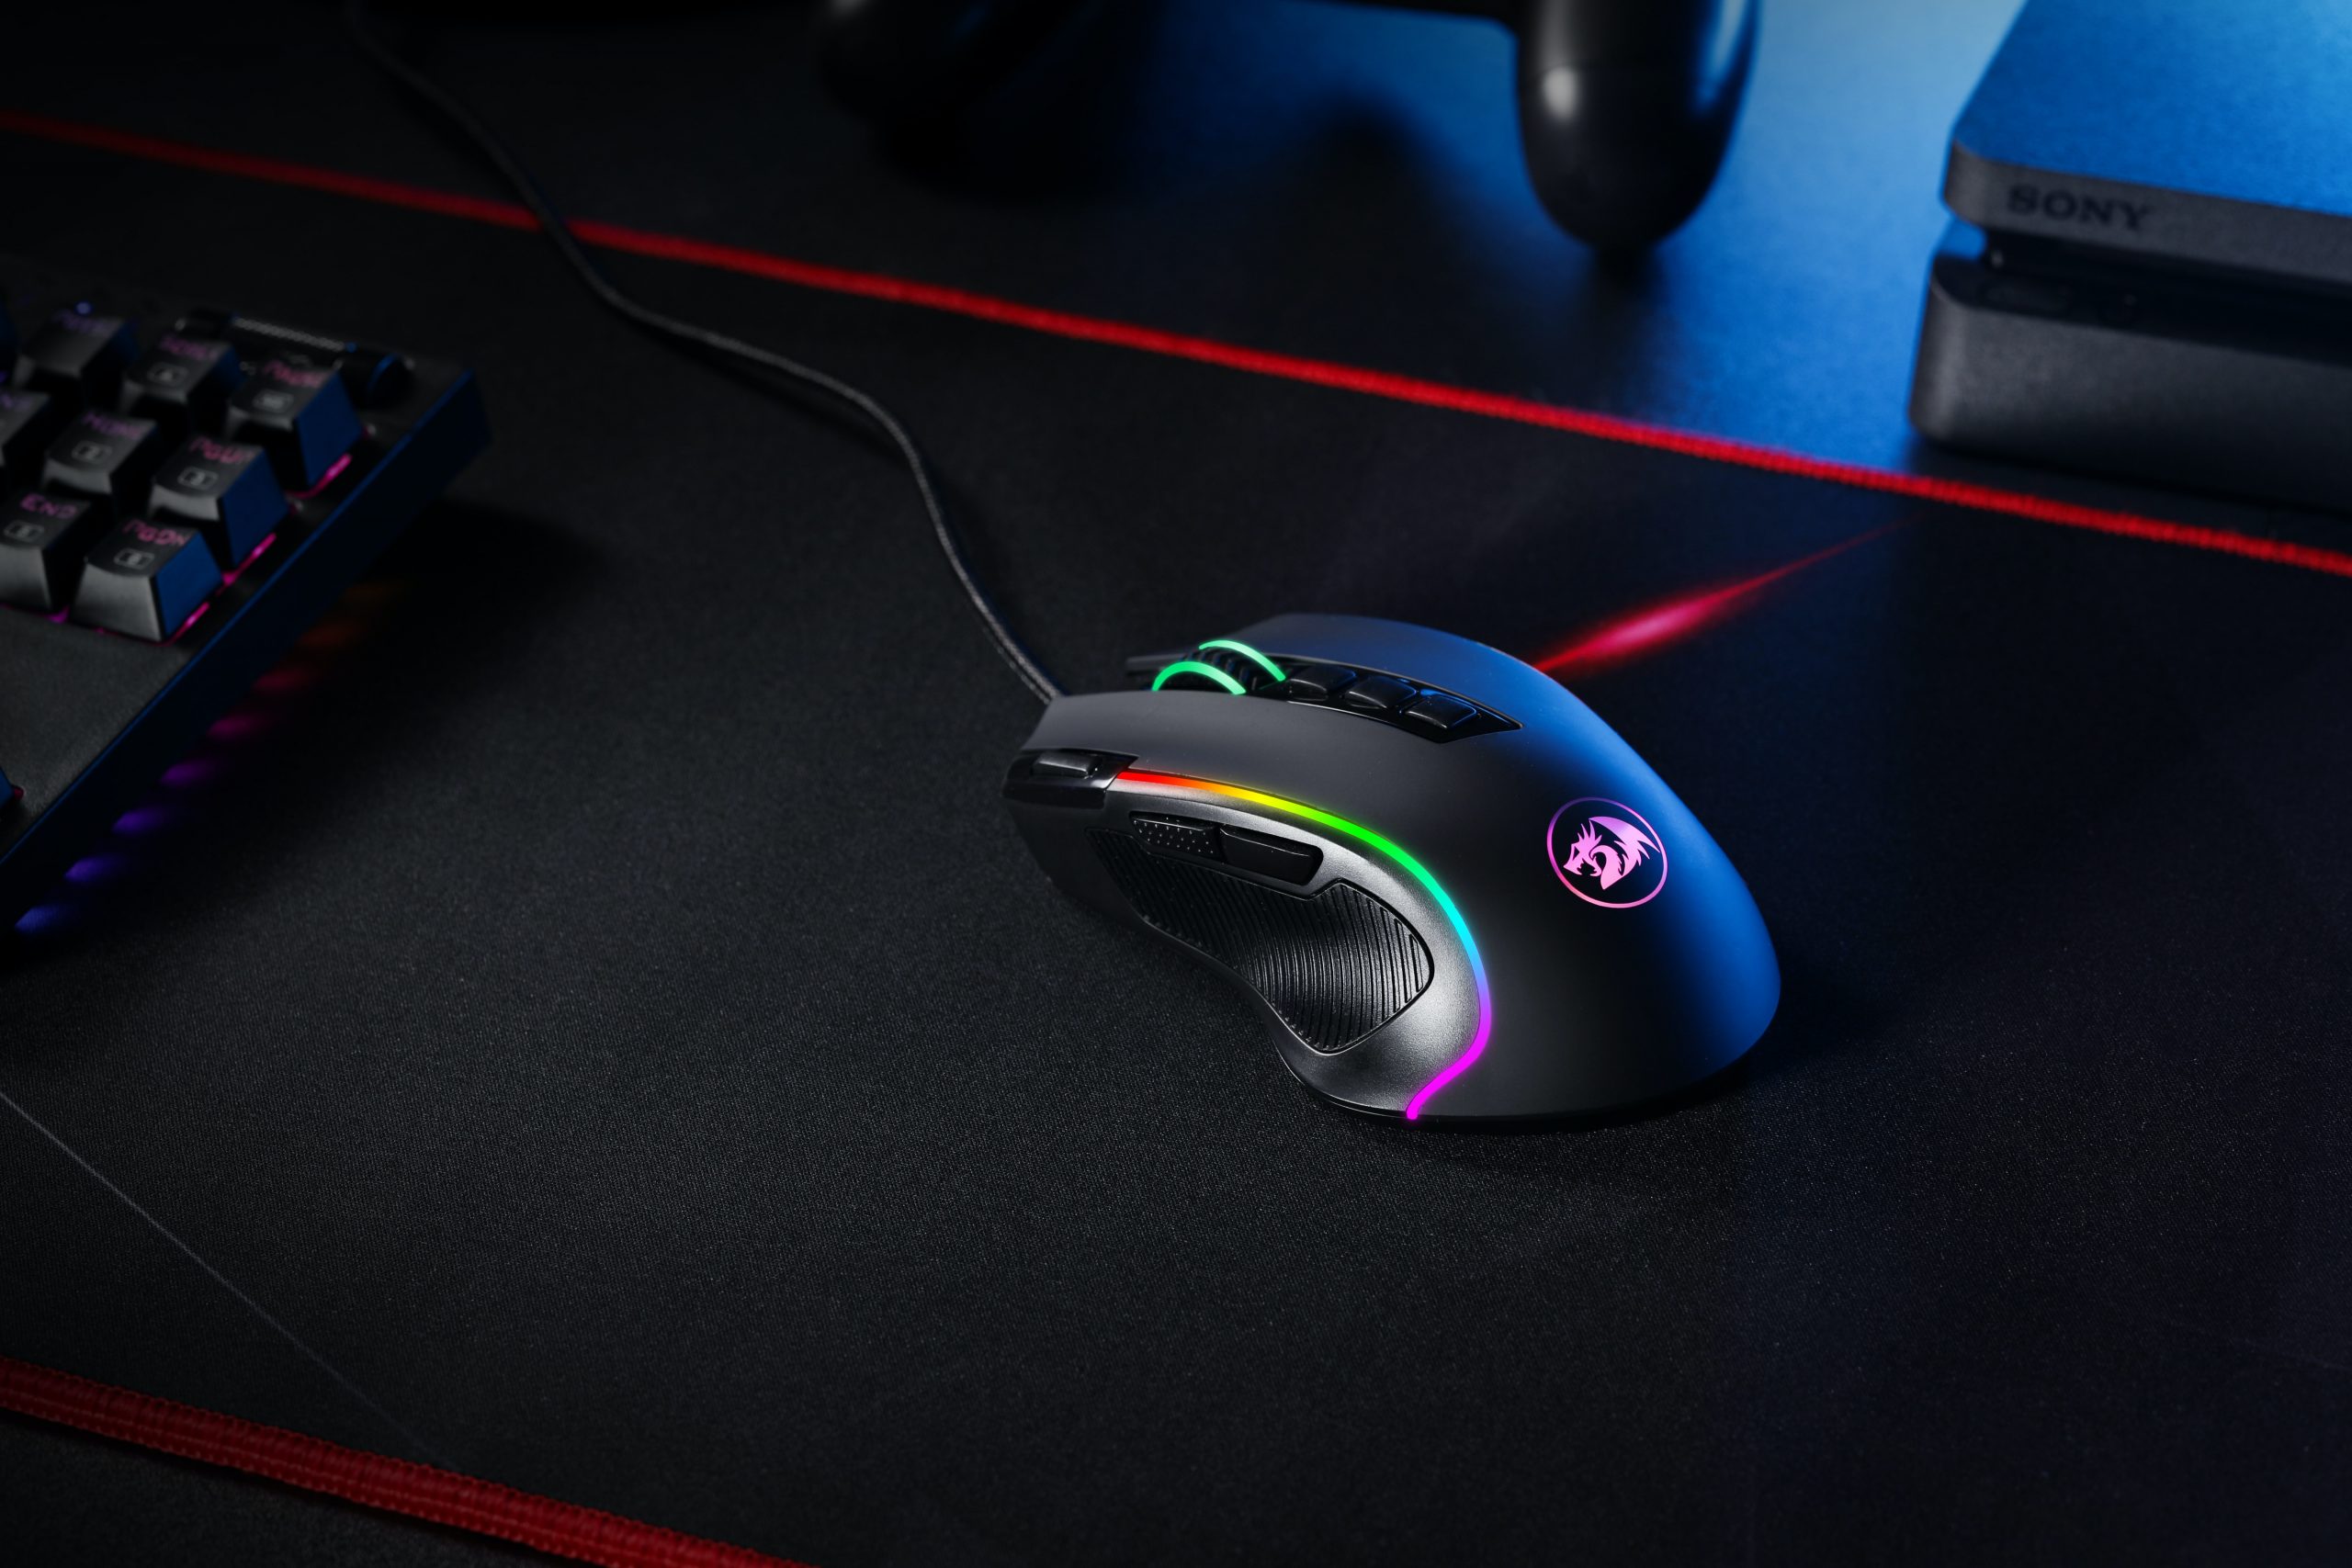
Whether you’re working on a desktop or a laptop, you’ll always need your mouse settings windows 10. Because the mouse has been around for a long time and is such an important part of our digital lives, it’s critical to customize it properly for the best experience.
Microsoft wants users to use the Settings app in Windows 10 to personalize every part of the operating system, including your mouse preferences, but the Settings app’s options are very limited. Fortunately, you can still adjust your experience with the mouse properties found in Control Panel.
We’ll walk you through 5 simple steps to personalize the mouse and touchpad experience on your PC in this Windows 10 guide.
1. scroll wheel and the primary mouse button
To begin, open the app (using the Win+I keyboard shortcut), select the “Devices” category, and then select the “Mouse” page from the menu.
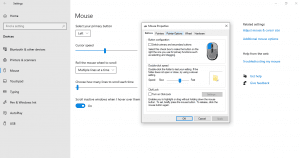
The page allows you to alter the primary mouse button and customize the scroll wheel’s operation. You can use the mouse wheel to scroll over lines or complete screens (much like the Page Up/Page Down buttons), and you may specify how many lines or screens to traverse at once.
The only mouse setting not available in the Control Panel is the last toggle button on the page, “Scroll inactive windows when I hover over them.” This was a brand-new feature in Windows 10. It allows you to scroll the contents of any window on your desktop by hovering over it and using the mouse wheel, according to the description. You don’t have to switch attention to the window first, which resolves a long-standing issue with previous Windows versions. Most of the time, you’ll want to keep it enabled.
The Control Panel is where you’ll find the rest of Windows’ mouse options. The “Additional mouse options” link to the right of the Mouse settings page will take you there. This will open the “Mouse Properties” popup, which hasn’t changed much over the years as Windows has evolved.
This screen’s initial tab offers three possibilities. The first is a copy of the Settings app, and it allows you to change the primary mouse button. The second enables you adjust when double-clicks are recorded – if Windows isn’t detecting when you double-click or is creating false positive matches, you can finetune how long a double-click has to last using the slider and test area.
2. Accessibility Options in the Settings App
There are a few of mouse-related Ease of Access settings in Windows 10. To get to them, open the Settings app and go to Ease of Access.

- The first set of options may be found in the sidebar under Mouse Pointer.
- Change the size of the pointer by dragging the slider to the right or left.
- Change the color of the pointer by selecting a color scheme. You can, for example, change the default white pointer to black, alter colors based on the background, or select a custom color.
- The second set of options can be found in the sidebar under Text Cursor.
Turn on the text cursor indication: This activates a text cursor indicator to help you see what you’re typing. After that, choose a color and adjust the indicator’s color using the slide. Increase or reduce the thickness of the text cursor by dragging the slider.
3. Locate the cursor
Finally, you may select when the pointer should be concealed in the “Visibility” area. The “Hide pointer while typing” checkbox can be used to stop automatic cursor hiding while typing.
If you have trouble following your cursor, you can use the “Display pointer trails” option to show pointer trails that track your mouse across the screen. “Show location of pointer when I click the CTRL key” — a self-explanatory checkbox that can come in helpful when you’ve misplaced your mouse – is the final usability adjustment.
That’s all there is to the mouse settings in Windows. We won’t go over the other Mouse Properties tabs because Wheel is covered in the Settings page, and Hardware contains technical information about your mouse. Depending on your device, you may see more tabs under Mouse Properties; for example, many laptop touchpad drivers have additional pages here that allow you to customize their operation.
4. Modify the mouse wheel’s behavior.
The mouse wheel’s primary function is to scroll up and down a page on your computer. It can also be used as a third mouse button, but we’ll concentrate on the scrolling feature for now.
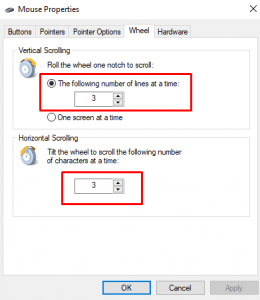
Here’s what I’ll demonstrate:
- Change the amount of lines per vertical scroll to your liking.
- Increase or decrease the number of characters displayed each horizontal scroll.
The mouse wheel settings can be found on the Mouse Properties page by going to Control Panel and searching for Mouse, as in the previous sections. Follow the instructions below by clicking on the Wheel tab.
5. Change the appearance of the mouse pointer
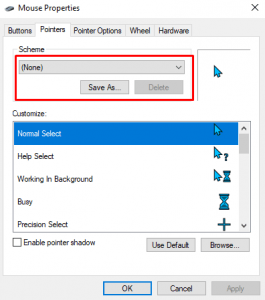
Design through the Scheme dropdown list and select a new one to change the look of the points. We wrote a full instruction on how to change the color scheme of the mouse and pointer.

If you want to change the appearance of the pointer in a given scheme, choose a scheme and a figure from the Customize list, then hit Browse and pick one. To save your changes, click the OK button.
Have you been able to set up and calibrate your mouse to your liking?
With the exception of what the extra buttons on a mouse do when it has more than two buttons, you can change practically every feature of how your mouse functions in Windows 10, with the significant exception of what the extra buttons on a mouse do when it has more than two buttons. In comparison to prior Windows versions, however, Windows 10 simplifies access to the Settings app, which allows you to change basic mouse settings. At the same time, you may open the Mouse Properties window, which has more settings and a user interface that is familiar to Windows users from prior editions.
Don’t Forget Any Mouse-Specific Software?
Aside from the Windows mouse settings listed above, remember to utilize any dedicated mouse support applications. The Logitech Options app, for example, can be used to customize the behavior of Logitech mice. These are usually easier to use and enhance the default capabilities of some mouse, such as the Logitech MX Master 3. To download and install suitable support software, go to the website of your mouse’s manufacturer.
Wrapping things up
Remember that these are basic mouse settings windows 10, and while they apply to most devices, there are many mice and touchpads on the market that have additional features. These additional parameters are frequently only adjustable through software provided by your mouse maker.
Microsoft will be adding a host of new precision touchpad settings, and the Mouse & Touchpad area will be separated into two sections. These options will not be available until the Windows 10 Creators Update is released.


